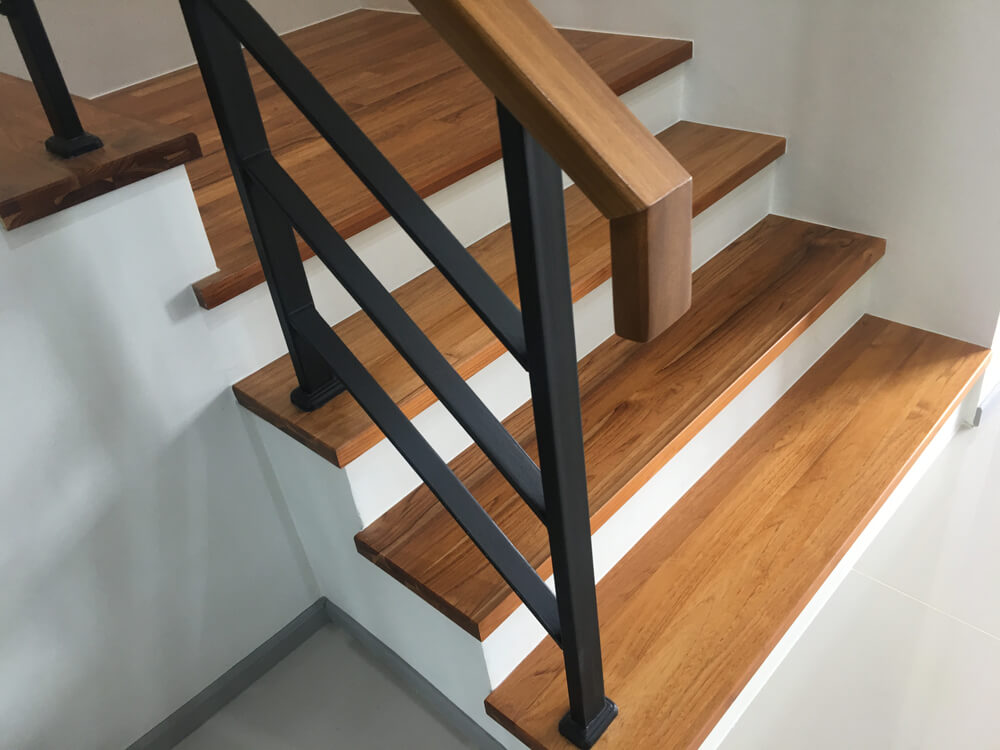
Stairs are often the focal point of a home, and upgrading them with vinyl plank flooring can add both beauty and functionality. Vinyl plank on stairs, also known as LVP (Luxury Vinyl Plank) stairs, is a popular choice for homeowners seeking a durable and stylish solution.
In this comprehensive DIY guide, we’ll walk you through the steps on how to install vinyl plank flooring on stairs, ensuring a stunning transformation that you can achieve with ease. Also, if you are looking for a vinyl plank flooring sale in Greensboro, North Carolina, or looking for expert kitchen remodeling services, give us a call after reading the article.
Materials You’ll Need
The gear you will need for this project is pretty straightforward, and most of them will be readily available at most hardware stores:
- Vinyl Plank Flooring
- Measuring Tape
- T-Square
- Circular Saw
- Adhesive
- Trowel
- Spacers
- Level
- Hammer
- Nails or Screws
- Safety Gear (gloves, goggles, knee pads)

Step 1: Measure and Plan
Before diving into the installation process, it’s crucial to measure your stairs accurately. Use a measuring tape and a T-square to get precise dimensions for each step and riser. Once you have the measurements, calculate the total square footage of vinyl plank needed, including a little extra for any cuts or mistakes.
Consider creating a detailed sketch or diagram of your stairs during the planning phase, noting any irregularities or unique features. This visual aid will serve as a valuable reference throughout the installation process. Additionally, take note of any transitions or landings, as they may require special attention during the measurement and planning stages to ensure a seamless and professional-looking installation.
Step 2: Gather the Right Vinyl Plank
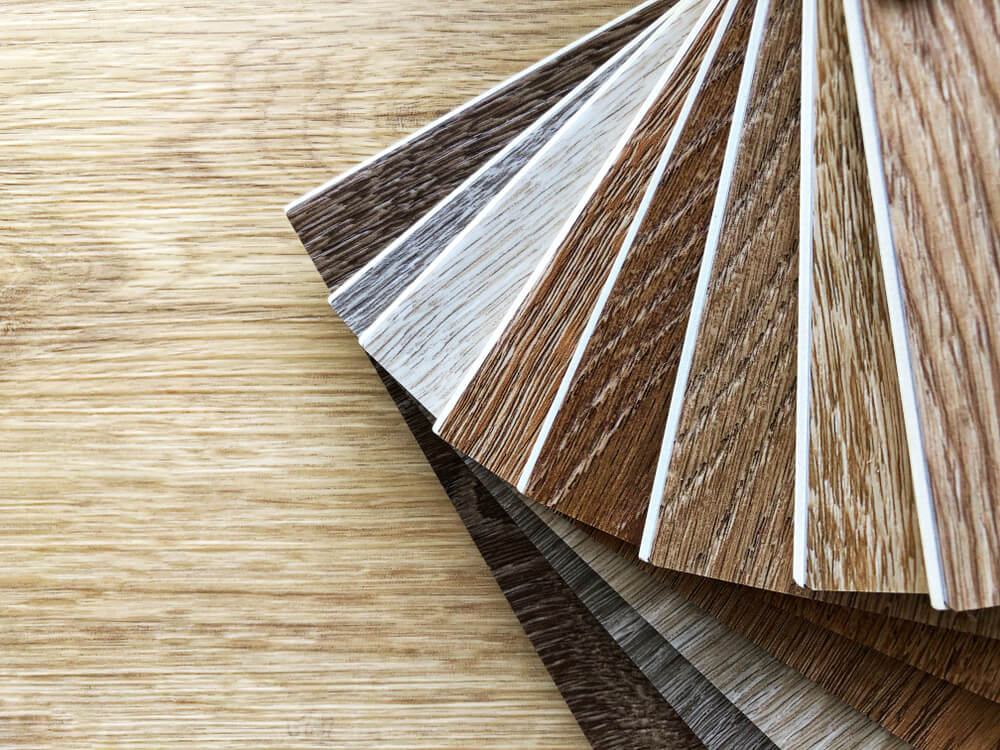
Choosing the right vinyl plank for stairs is essential. Opt for a high-quality product designed for heavy traffic areas. Ensure that the vinyl planks have a slip-resistant surface to enhance safety on the stairs.
When selecting the vinyl plank for your stairs, consider the aesthetic aspects as well. Choose a color and texture that complements your overall interior design scheme, creating a cohesive and visually appealing look. Additionally, check the warranty and maintenance requirements of the chosen vinyl plank to ensure long-term satisfaction and ease of care, making your investment in staircase renovation both stylish and practical.
Step 3: Prepare the Stairs
Start by cleaning the stairs thoroughly to remove any dust or debris. If there is existing carpet or other flooring, remove it and ensure the surface is smooth and level. Repair any damage and make sure the stairs are in good condition before proceeding.
Inspect the stairs for any protruding nails or staples and remove them to create a smooth surface for the vinyl plank installation. If the existing staircase has imperfections or uneven areas, consider using a leveling compound to create a flat and stable base. Taking the time to prep the stairs adequately ensures a flawless installation and enhances the longevity of your vinyl plank flooring.
Step 4: Cut the Vinyl Planks
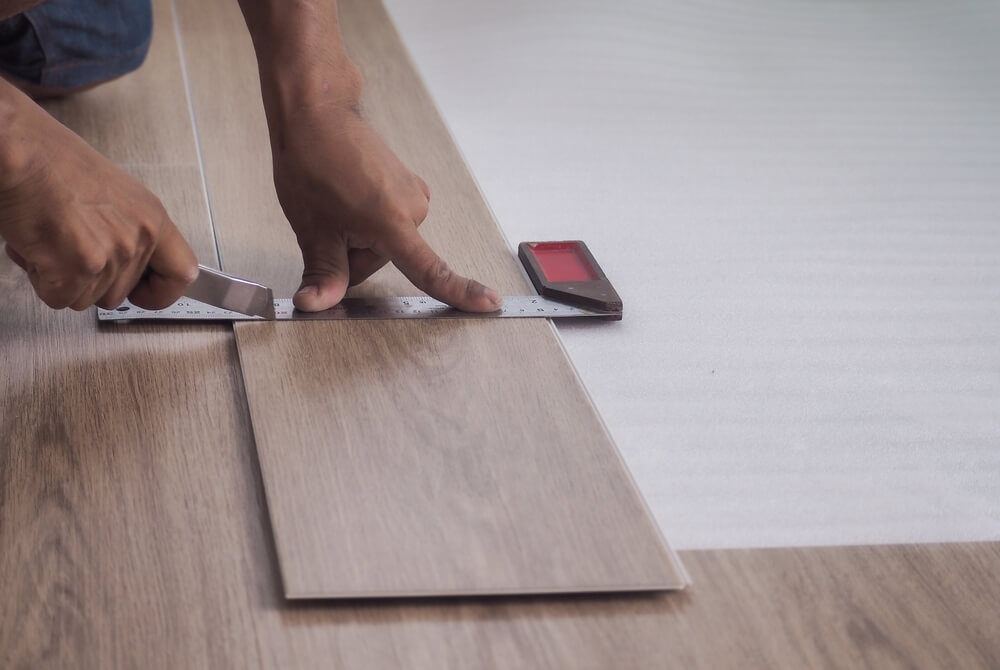
Using a circular saw, carefully cut the vinyl planks to fit the dimensions of each step and riser. Make sure to leave a small gap around the edges for expansion. A T-square can help ensure straight cuts, providing a professional finish.
Prioritize safety during the cutting process by wearing appropriate safety gear, including goggles and gloves, to protect yourself from any debris. Always cut the vinyl planks in a well-ventilated area to minimize inhalation of dust particles. Additionally, periodically check the saw blade for any buildup of vinyl residue to maintain clean and precise cuts throughout the installation process. This meticulous approach to cutting will contribute to a polished and seamless appearance for your vinyl plank stairs.

Step 5: Apply Adhesive
Using a trowel, spread a recommended adhesive evenly on the stairs. Follow the manufacturer’s instructions for the specific type of adhesive you’re using. Apply enough adhesive to cover the entire surface without leaving any gaps.
Ensure a thorough and consistent application of adhesive by working in small sections, starting from the bottom of the stairs and progressing upward. Pay close attention to the edges and corners to prevent air pockets or uneven adhesion. Be mindful of the adhesive’s open time, the period during which it remains workable, and strive to lay the vinyl planks promptly to achieve the best bonding results. Following the manufacturer’s guidelines meticulously guarantees a secure and lasting installation of your vinyl plank flooring on the stairs.
Step 6: Install the Vinyl Planks
Begin installing the vinyl planks on the stairs, starting from the bottom and working your way up. Use spacers to maintain a consistent gap between the planks and the walls or risers. Press each plank firmly into the adhesive, ensuring a secure bond.
As you progress with the installation, periodically check that the vinyl planks are aligned with the edges of the stairs and maintain a uniform spacing between each plank. Press down on each plank firmly to eliminate any air pockets and ensure a snug fit. If the vinyl planks feature a click-lock system, engage the interlocking mechanism carefully, guaranteeing a seamless connection between each plank for a polished and professional appearance on your newly transformed stairs.
Step 7: Trim and Finish
As you reach the top of the stairs, you may need to trim the last plank to fit the remaining space. Use a circular saw or a utility knife for precision. Once all the planks are in place, double-check that everything is level and securely adhered to.
Take your time when trimming the final plank, ensuring accurate measurements for a seamless and snug fit. If using a circular saw, follow safety guidelines and make controlled, steady cuts. For precision in tight spaces or intricate cuts, a utility knife can be a handy tool. After completing the installation, thoroughly inspect the entire staircase, paying attention to the edges and corners, to confirm a level surface and secure adhesion, leaving you with a professionally finished vinyl plank staircase.
Step 8: Secure the Edges
To reinforce the edges, you can use either nails or screws, depending on your preference. Be sure to countersink them to create a smooth surface. Alternatively, some vinyl planks come with a click-lock system, eliminating the need for additional fastening.
If opting for nails or screws, choose a size that is appropriate for the thickness of the vinyl planks, ensuring a secure attachment without causing any damage. To maintain a polished appearance, countersink the fasteners slightly below the surface and fill the indentations with a color-matching filler. However, if your chosen vinyl planks feature a click-lock system, take advantage of this hassle-free solution, as it eliminates the need for additional fastening and streamlines the finishing process. This final step ensures not only the structural integrity but also the aesthetic appeal of your newly transformed vinyl plank staircase.
Taking The DIY Route
Transforming your stairs with vinyl plank flooring is a rewarding DIY project that adds both style and functionality to your home. By following this step-by-step guide, you can achieve a professional-looking finish and enjoy the durability and beauty of vinyl planks on stairs. Whether you’re a seasoned DIY enthusiast or a first-time homeowner, this guide ensures a hassle-free installation process that will leave your stairs looking stunning for years to come.
Also, if you don’t really feel like taking on such a project, you can always opt for professional luxury vinyl plank installation in Greensboro, North Carolina – all you have to do is reach out to us.


